
Imagine having access to a skincare regimen that is both cost-effective and incredibly beneficial for your skin's health and beauty, right from your kitchen. Yes, it's possible with an easily homemade salt scrub. One of the most potent weapons in your skincare arsenal, a salt scrub, can exfoliate and hydrate your skin, promote increased circulation, and restore your skin’s natural glow. The journey towards your homemade skincare begins by understanding these benefits, gathering essential ingredients like Epsom or sea salt, your choice of carrier oil, and essential oils, and then learning the correct techniques for mixing them.
Understanding the Benefits of Salt Scrub
Understanding the Health Benefits of Salt Scrub
The use of salt scrub is widely recognized for its various health and beauty benefits. One of the main advantages is the product's exfoliating properties. This process involves the removal of dead skin cells that often leave the skin looking dull and feeling rough. Using salt scrub as a regular part of a skincare routine can help unblock pores and prevent issues such as acne, spots, and blemishes.
Hydrating Your Skin with Salt Scrub
Besides exfoliating, salt scrub can also aid in hydrating your skin. High-quality salt scrub will usually contain oils like coconut, grapeseed or olive oil, which work to moisturize the skin. When rubbed onto the body, the compounded mixture of salt and oil can help hydrate and firm your skin texture, leaving it feeling softer and smoother after every use.
Promoting Increased Circulation
Another lesser-known benefit of using a salt scrub is its ability to promote increased circulation. The application of the scrub via massaging movements contributes to improved blood flow in targeted areas of your body. This increased circulation can assist in reducing inflammation, soothing sore muscles, and potentially decreasing the appearance of cellulite.
Restoring Skin’s Natural Glow
Finally, using a salt scrub can help achieve a natural skin glow. The exfoliation process reveals a fresh layer of skin, resulting in a brighter and healthier appearance. Plus, by removing dead skin cells, your skin care products will be able to penetrate more deeply, making them more effective.
In conclusion
Including a salt scrub in your regimen is a simple yet beneficial way to keep your skin looking and feeling healthy. Whether you’re aiming to exfoliate, hydrate, increase circulation, or restore your skin's natural glow, a salt scrub could be an effective solution.
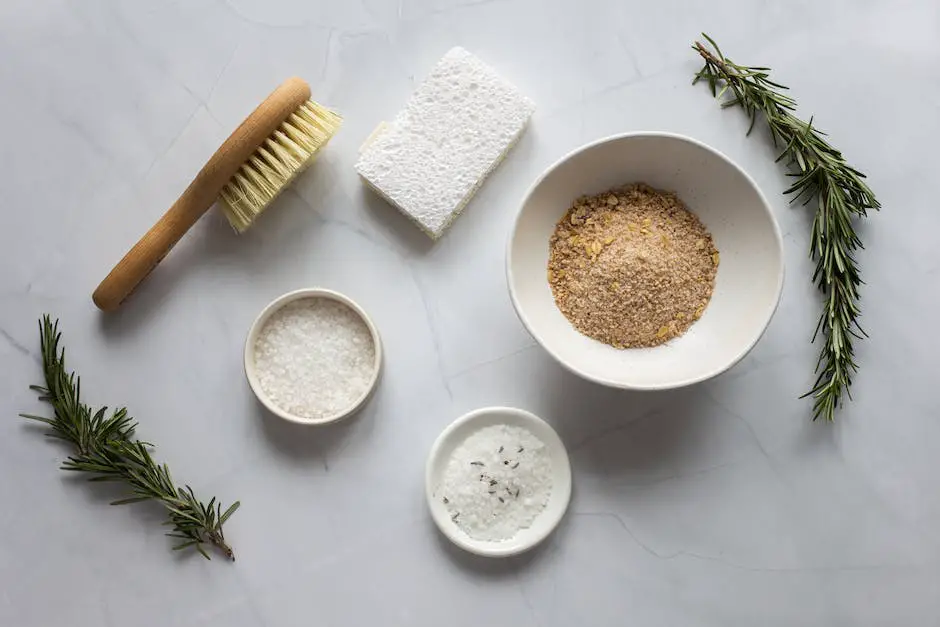
Gathering Essential Ingredients
Procure Salt
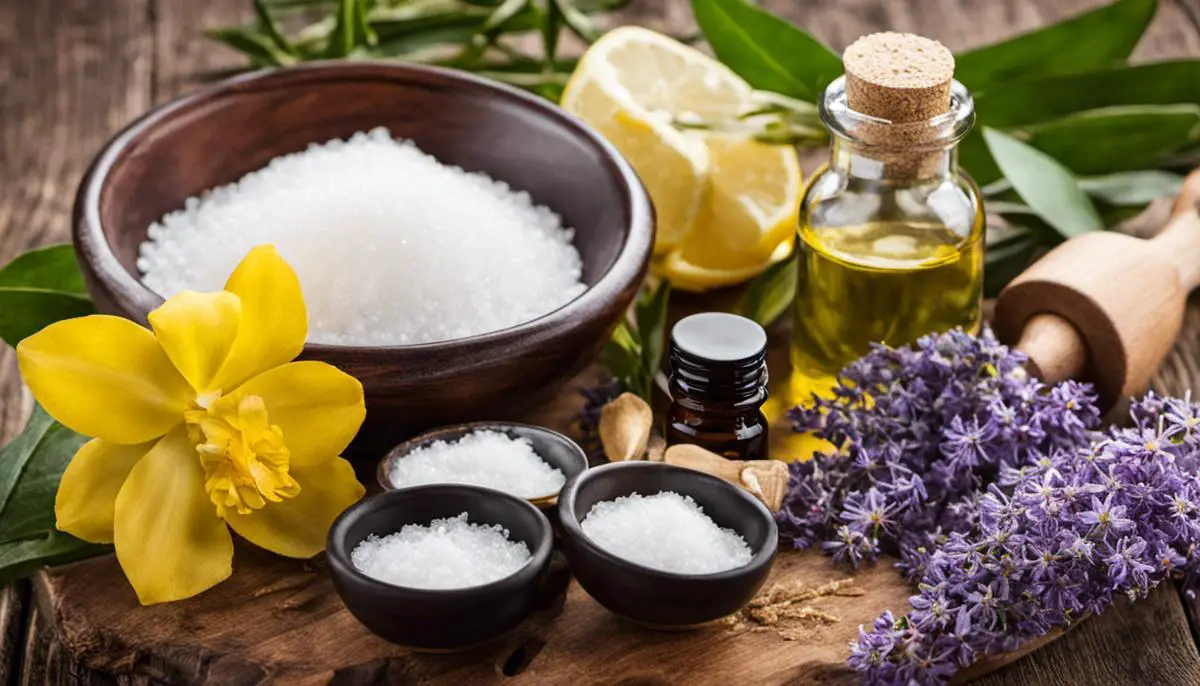
The first ingredient you will need for your homemade salt scrub is salt. This can be Epsom salt, sea salt, or even regular table salt if you're in a pinch. The type of salt you choose will affect the texture of your scrub, so choose based on your personal preference. Epsom and sea salt are usually coarse, resulting in a more exfoliating scrub. They are both widely available in grocery stores, health food stores, or online.
Select a Carrier Oil
The next thing you'll need is a carrier oil. This is a type of oil that will dilute the salt and carry the essential oils onto your skin. Some popular choices for carrier oils are coconut oil, olive oil, jojoba oil, or sweet almond oil. Coconut oil is a favorite due to its hydrating and anti-bacterial properties, but any of the above-mentioned oils are great for your skin. Choose the oil that works best for your skin type. This ingredient is also easily attainable from grocery stores, health food stores or online marketplaces.
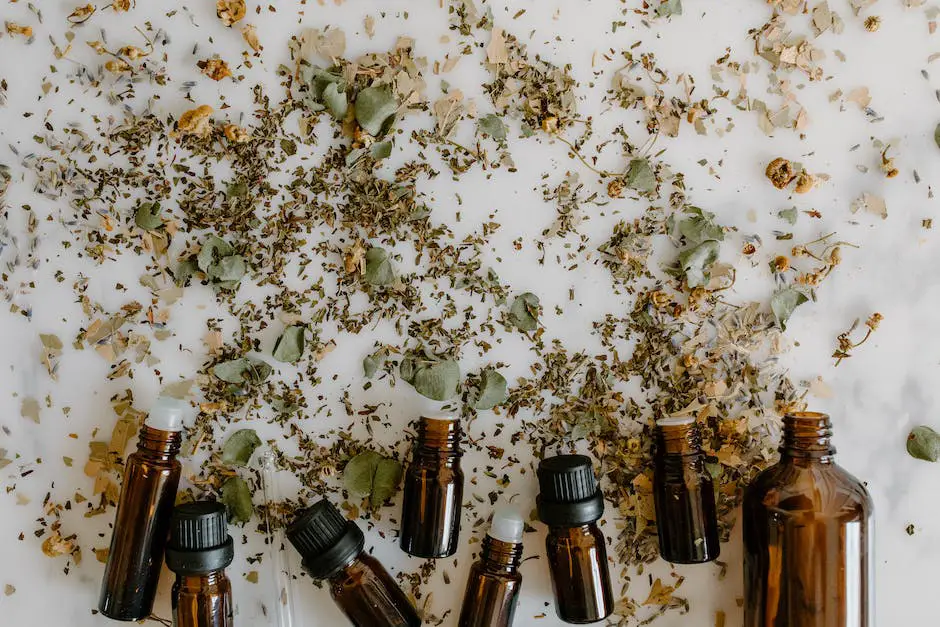
Choose Your Essential Oils
The final ingredient to collect on your shopping list is essential oils for a fragrance of your choice. Essential oils come in a variety of scents, from lavender for relaxation to peppermint for invigoration. The choice of essential oils will depend on your personal preference and the mood you want to create when using your scrub. Some popular choices include lemon for a refreshing scent, or eucalyptus for a relaxing experience. It is essential to ensure the oils chosen are safe for topical use. Essential oils are most commonly found in health food stores or can be ordered online.
In summary, start with selecting your preferred type of salt, determine your carrier oil based on your skin type, and lastly pick one or more essential oils of your choice for fragrance. Once you've gathered all of these ingredients, you can move onto the next step of making your homemade salt scrub.
Learning Correct Mixing Techniques
Understanding Ingredients for Salt Scrub
The main ingredients for a homemade salt scrub are sea salt, oil, and essential oils for fragrance. Your choice of sea salt can vary according to your skin type and desired scrub intensity. For a more coarse scrub, opt for Epsom or Mediterranean sea salt. For milder scrubs, fine sea salt or Himalayan salt works great. The oil is used to bind the sea salt, prevent it from dissolving, and moisturize the skin. Olive oil, jojoba oil, sweet almond oil, or coconut oil are popular choices. Finally, essential oils give the scrub a pleasant scent and can also provide therapeutic benefits.
Proper Mixing Techniques
Start by pouring your sea salt into a mixing bowl. Then, gradually add the oil while stirring the sea salt. The perfect ratio of salt to oil generally ranges from 2:1 to 1:1, depending on your desired texture. If you like a more fluid consistency, lean toward the 1:1 ratio. For a solid scrub, use less oil, moving closer to a 2:1 ratio. Stir the ingredients until the mixture is consistent.
Adding Essential Oils
Once your base is ready, you can add the essential oil for fragrance. Just a few drops will do, as essential oils are potent. Start with about five drops for each cup of scrub and mix it in. You can always add more if you want a stronger scent, but be mindful not to overdo it, as too much essential oil can cause skin irritation.
Preserving the Stats of Your Scrub
Maintaining the shelf-life of your salt scrub relies largely on preventing the incursion of water. Transfer your finished scrub to a jar with an airtight seal. Remember to always use dry hands or a spoon to take out portions of your scrub, as water can dissolve the salt and lead to microbial growth. If mixed and stored correctly, your scrub can last from six months to a year.
Special Considerations
Avoid making extra-large batches of salt scrub, even if it can technically last a long time. Over time, essential oils can lose their potency, and the scrub can become less effective. It's better to make fresh batches more frequently, which also allows you to experiment with different scents and types of salt. Always test a small amount of the finished product on your skin before using it in large quantities to detect any potential skin reactions.
Safety and Storage Measures
Safety Measures When Using a Salt Scrub
Salt scrubs can be marvelous for exfoliating and rejuvenating the skin, but it's indispensable to follow a few safety measures to avoid irritating your skin. Start by testing the salt scrub on a small area of your skin to ensure that you do not have an allergic reaction. If you experience any itching, redness, rash, or other discomfort, discontinue use.
Avoid using salt scrubs on damaged or recently shaved skin to minimize stinging or further irritation. Salt scrubs are coarse and may cause micro-tears on the skin if scrubbed too hard; hence, use a gentle hand to apply the scrub in a circular motion to aid in the removal of dead skin cells without causing any harm to your skin.
Never use a salt scrub on your face as the skin there is more sensitive than the rest of your body. If you feel your skin is getting uncomfortably hot or turning intensely red, wash off the scrub immediately with cool water.
Lastly, moisturize your skin thoroughly after each salt scrub use, as the salt can dry out the skin if moisture isn't replenished.
Storage Tips for Salt Scrub
After making your homemade salt scrub, it's crucial to know how to store it properly to keep it fresh and effective for as long as possible.
Always store the salt scrub in an airtight container, and if you've created a large batch, utilize multiple small containers instead of one big one. This approach will keep it from getting contaminated with bacteria, preventing the potential spread of any irritants to your skin.
Avoid storing the scrub in direct sunlight or extremely humid conditions, as these can make the scrub more likely to spoil. The best place to store your homemade salt scrub is in a cool, dry area like a cabinet or drawer away from any sources of heat or light.
Remember never to get water into the salt scrub storage container. Water promotes bacterial growth which reduces the shelf-life of your salt scrub and is likely to introduce some potentially harmful bacteria. If you're using your scrub in the shower, consider using a spoon or spatula to scoop it out.
Finally, although salt scrubs have a relatively long shelf-life—about six months or more—always look for signs of spoilage. If the scrub changes color, develops an off-smelling odor, or shows visible signs of mold, it's time to discard it and prepare a new batch.

Creating a homemade salt scrub is about more than just mixing salt and oils. It's a process that encompasses an understanding of the benefits, learning about the essential ingredients, mastering correct mixing techniques, and knowing how to safely use and store your homemade product. When you have knowledge about the salt scrub's effect on your skin, you can choose ingredients that match your specific needs. By mastering the mixing techniques, you ensure the texture and shelf-life of your scrub are perfect. Lastly, understanding safety and storage measures keeps your skin healthy and your scrub fresh and effective. Now that you've gotten this far, it's time to embark on your skincare journey with your new knowledge and homemade salt scrub!